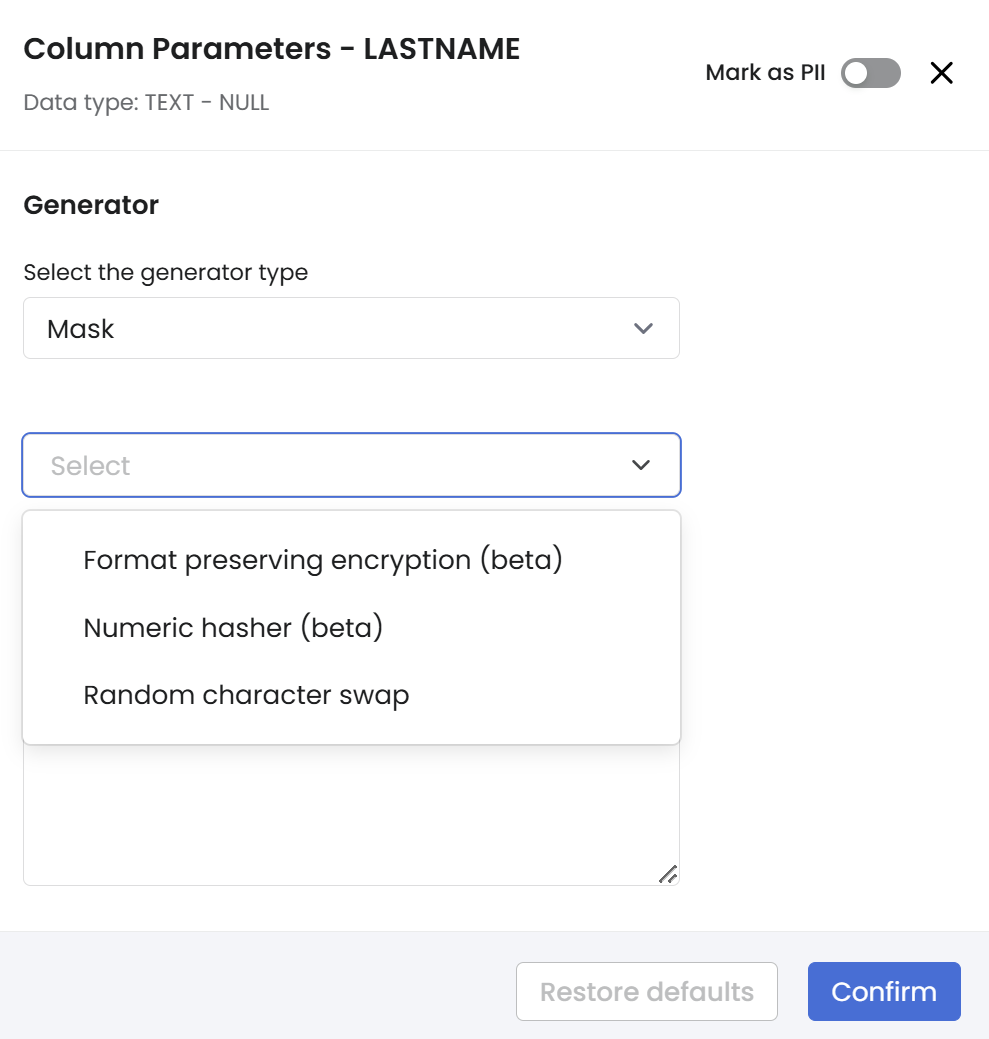
Mask

Mask functions can be especially useful in the following situations:

  1. To mask columns that contain directly identifiable information, such as Personally Identifiable Information (PII).

  2. To mask columns that contain indirectly identifiable information, such as Birthdate columns.

Apply a Mask function

You can apply mockers in two different manners, via the Job Configuration tab, or via the PII tab.

Apply mask generator via Job Configuration

You can apply a mocker on a column via the Job Configuration tab as follows:

  1. Open your Workspace.

  2. On the Job Configuration tab, select the column icon on the top left of the column where you want to apply a mask function.

  3. Under Column settings > Generation Method, select Mask to view the list of available mask functions.

  4. Select the Mask function that you wish to apply from the dropdown list of available mask functions.

  5. Set the relevant mask parameters.

  6. Select Confirm.

Apply mask function via PII tab

You can apply a mask function on a column via the PII tab as follows: Identify PII columns manually.

Edit mask settings

To edit any mask settings you have applied previously:

  1. Open your Workspace.

  2. Now you can either:

    1. On the Job Configuration tab, select the column icon on the top left of the column where you want to edit a mask function.

    2. On the Job Configuration tab, under Applied steps, select the Edit icon next to the column name where you want to edit a mask function.

    3. On the PII tab, select the Edit icon behind the column where you want to edit a mask function.

  3. Under the Generation Method, define the parameters that you want to change.

  4. Select Confirm.

Mask parameters

When setting the parameters for a mask function, you have various options to tailor the data according to your needs. Here are the main mask parameters that are shared across mask functions:

  1. Consistent mapping

    • Description: Enabling the consistent mapping allows you to generate the same masked data values for a given set of original data values every time the mocker is applied.

    • Options:

      • Enable: Turn on to consistently generate the same masked values for the same some original values.

      • Disable: Turn off consistent mapping to generate random masked data.

    • Considerations: It is possible that same original input value is consistently mapped to the same output mask value. For example, John and Mike in the original data can possibly both be mapped to the same value in the masked data.

    • Usage: When you need to consistently generate the same masked values for testing or demonstration purposes.

    For more information on consistent mapping, please check Consistent mapping.

Mask settings

Available mask functions

Datetime Noise

Adds a random shift to a datetime value based on specified minimum and maximum shift parameters.

Parameters

  • Date Part: The unit of time for the shift (e.g., Day, Month, Year).

  • Minimum Shift: The minimum amount the date can be shifted from the original value. Use negative numbers to indicate a shift to the past.

  • Maximum Shift: The maximum amount the date can be shifted from the original value.

  • Consistent mapping: A toggle to determine if the shift should be consistent for the same input values.

Configuration Steps

  1. Date Part Selection:

    • From the Date Part dropdown list, select the unit of time (e.g., second, minute, hour day, month, year) that will define the granularity of the shift.

    • The selected unit will be applied to both the minimum and maximum shift fields.

  2. Minimum Shift:

    • In the Minimum Shift field, input the smallest amount the date can be adjusted, relative to the original date.

    • Use negative numbers to shift the date into the past.

      • Example: If the date part is set to "Day" and the minimum shift is set to -5, this ensures the date will not be shifted earlier than 5 days prior to the original date.

      • A positive number shifts the date forward.

      • Example: If the minimum shift is 5, the date will not shift earlier than 5 days after the original date.

  3. Maximum Shift:

    • In the Maximum Shift field, input the largest amount by which the date can be adjusted from the original value.

    • Example: If the date part is set to "Day" and the maximum shift is set to 5, the date will not be shifted later than 5 days after the original date.

  4. Consistent Mapping:

    • Toggle the Consistent Mapping setting to specify whether the date shifts should be consistent across similar operations.

    • Default Setting: Consistent Mapping is disabled, meaning that shifts will vary each time the generator is applied.

    • Enabled: When enabled, the generator will produce the same shift for identical datetime values during repeated operations.

Last updated